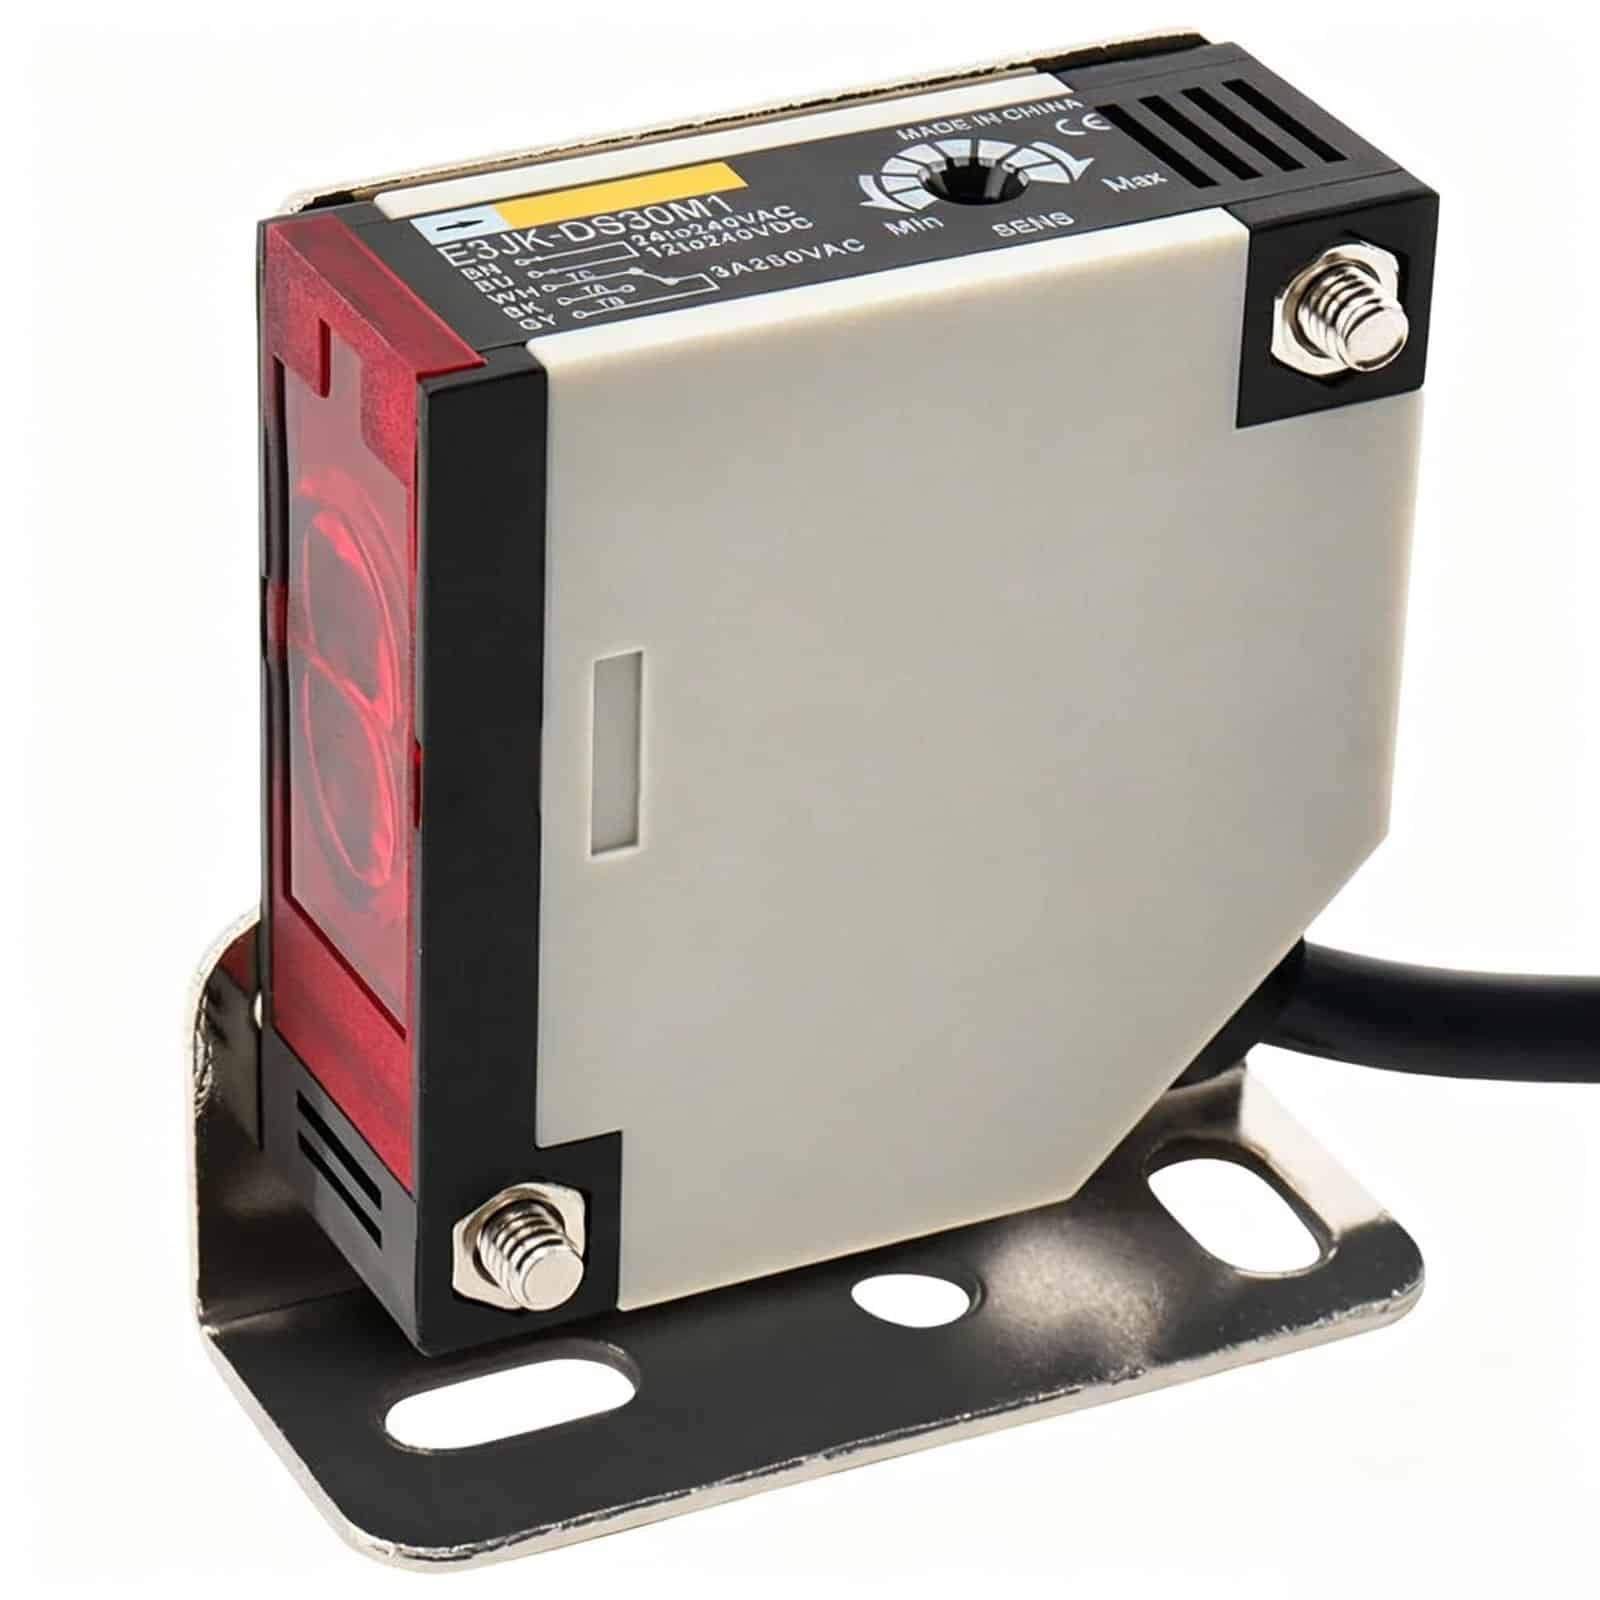
Industrial Automation Sensing
Choose optical detection to fit your target and machine layout. Compare sensing mode, working distance and output before selecting the model.
Optical Sensing for Machine Integration
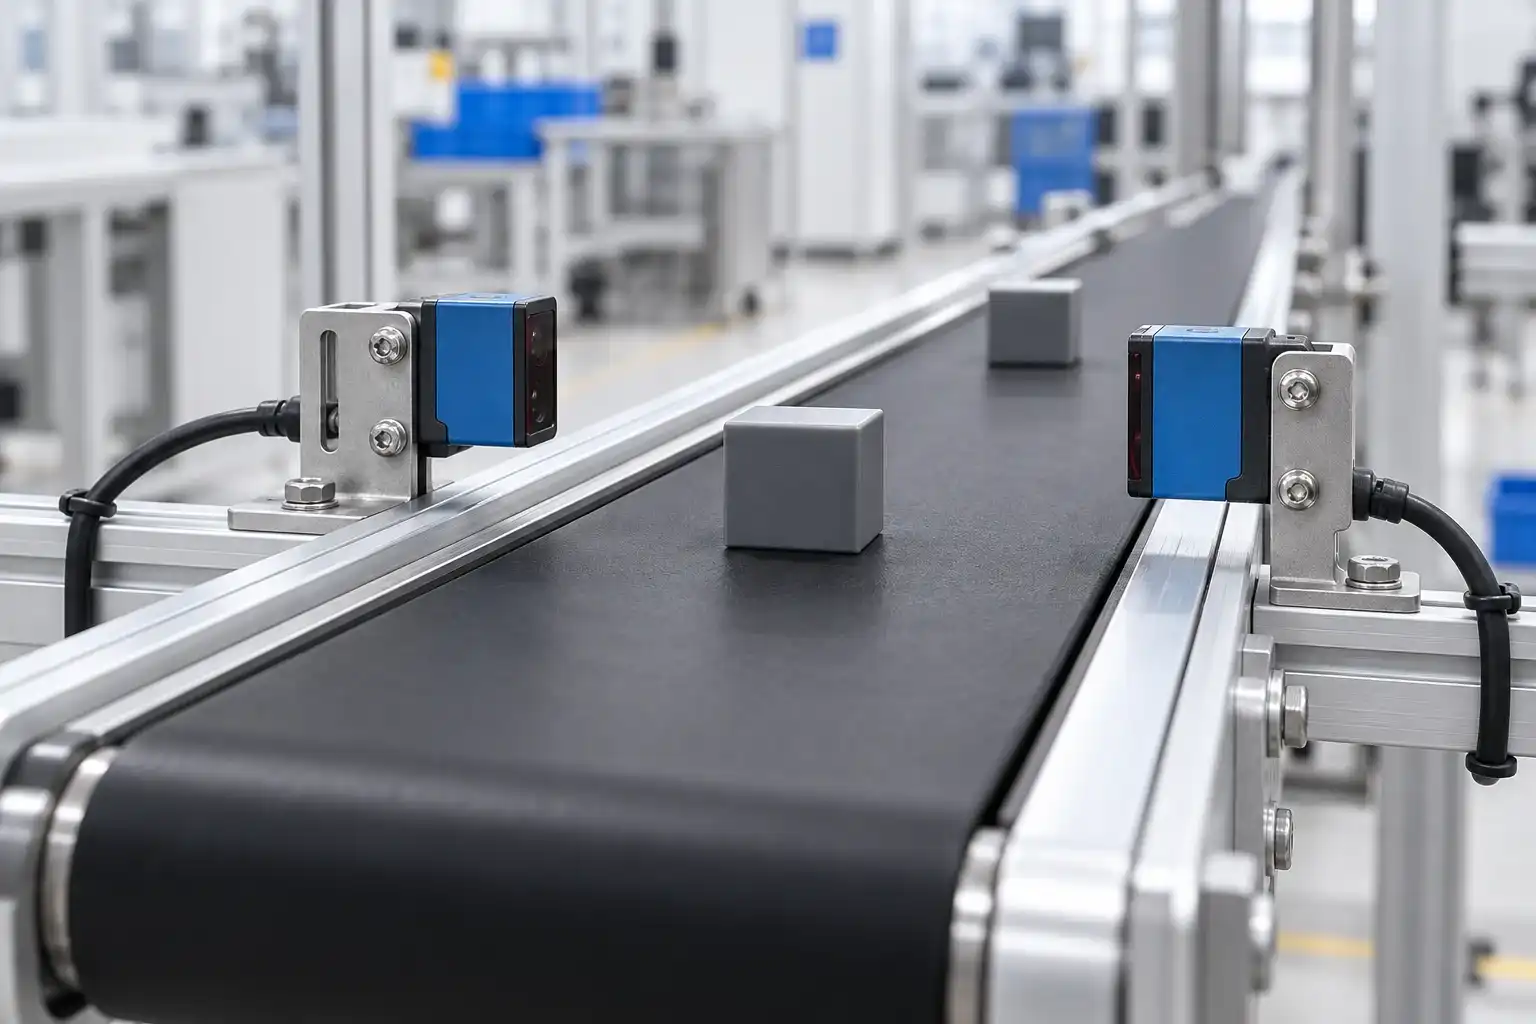
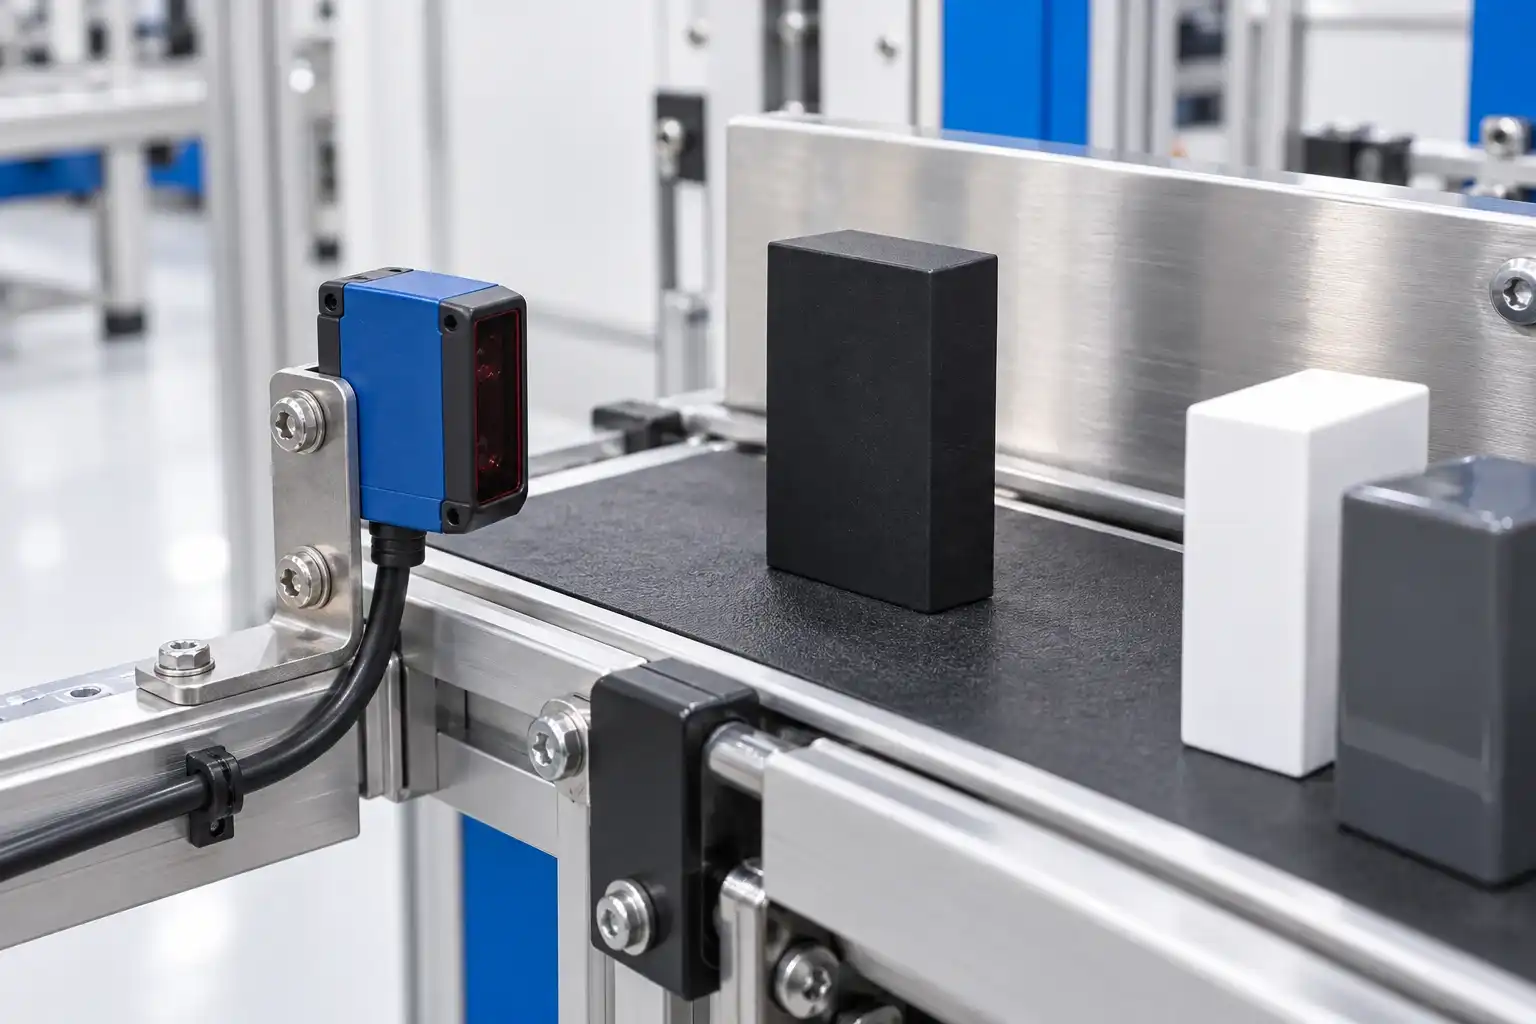
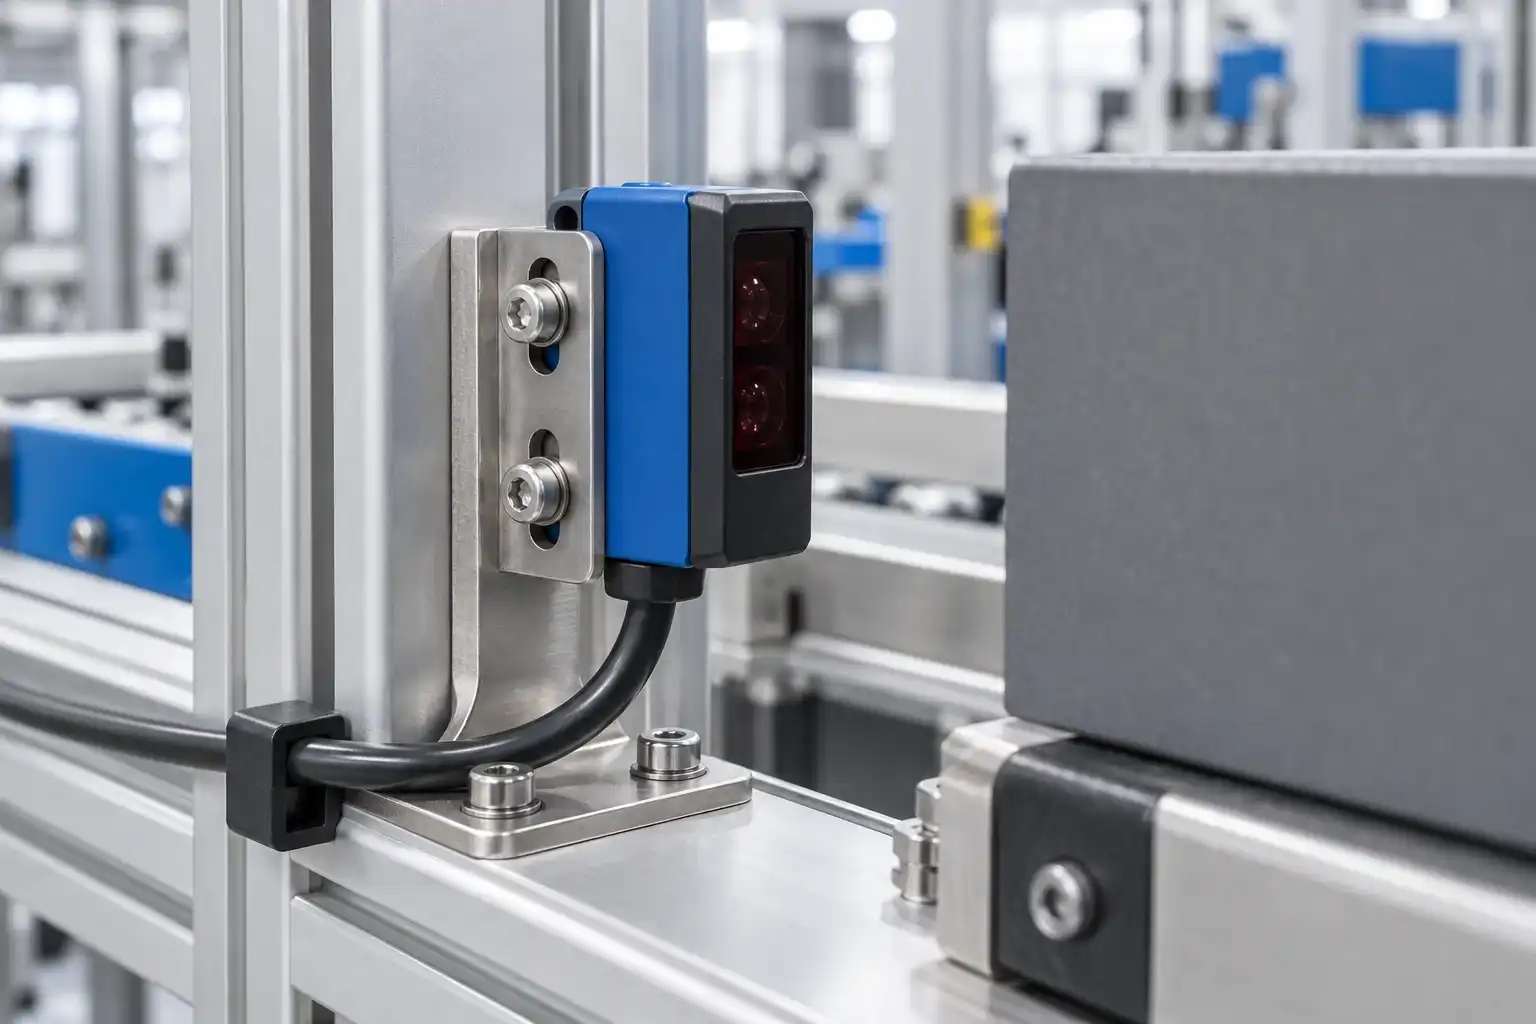
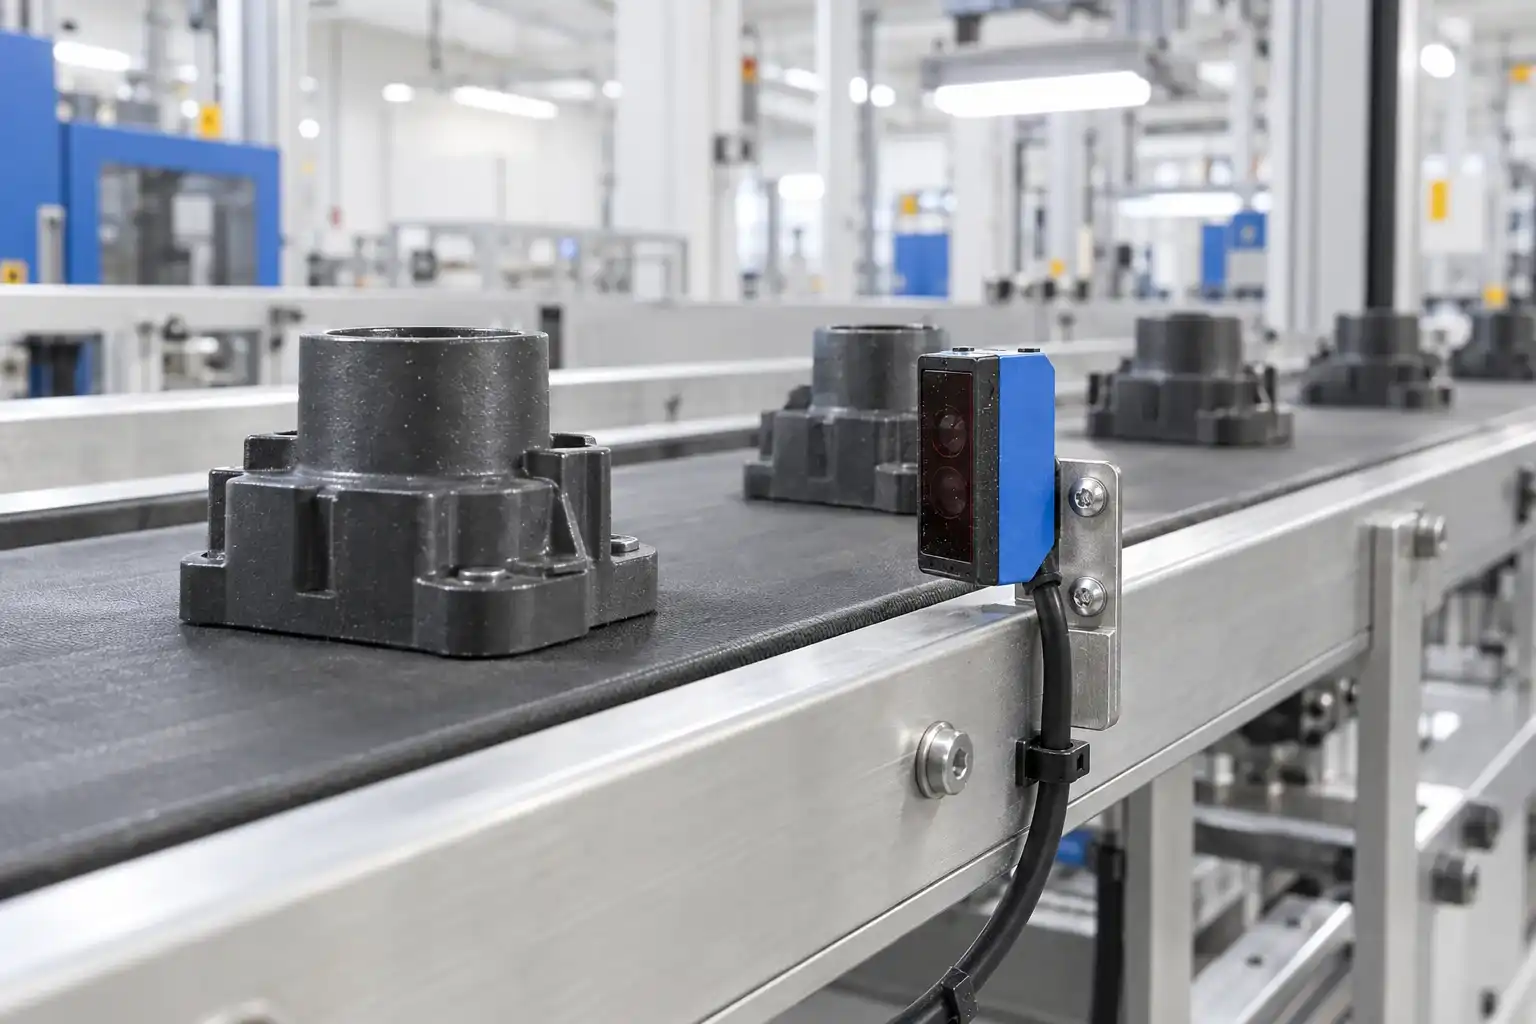
Rectangular photoelectric sensors use light to detect objects in a square or rectangular housing. Select a body size and mounting bracket that fit the machine, with the optical face aimed at the required sensing area.
The housing shape does not define the detection method. Confirm the sensing mode and working distance on the exact model, then test the target size, color and surface finish against the background. Allow space for alignment, adjustment and cable routing.
xsz sensor offers E3JK, E3K100, E3Z and SZ options. Match the supply voltage, transistor or relay output, load requirements and switching speed to your control circuit.
Our Product Range
Select by target, distance
and electrical interface.
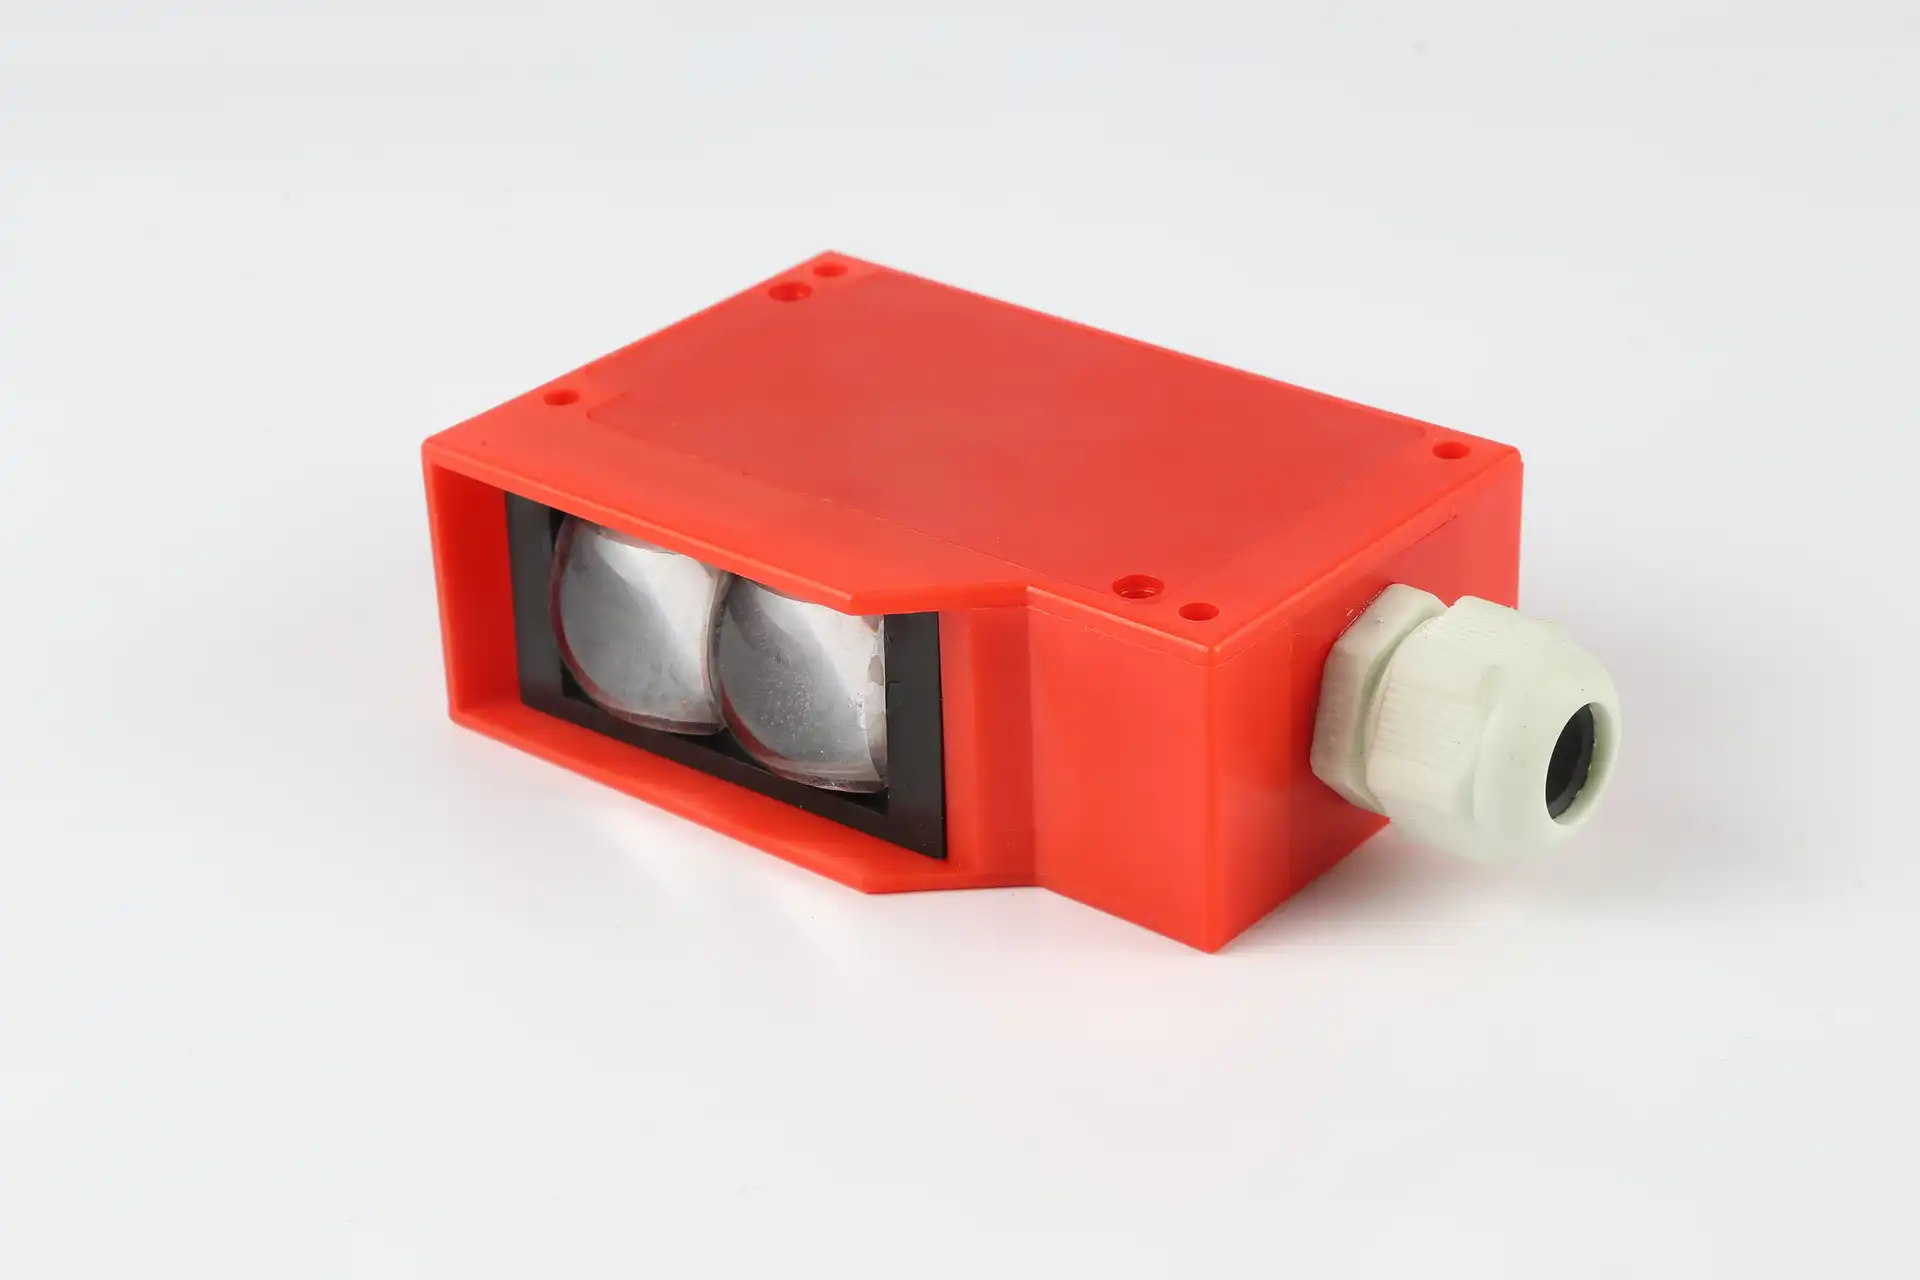
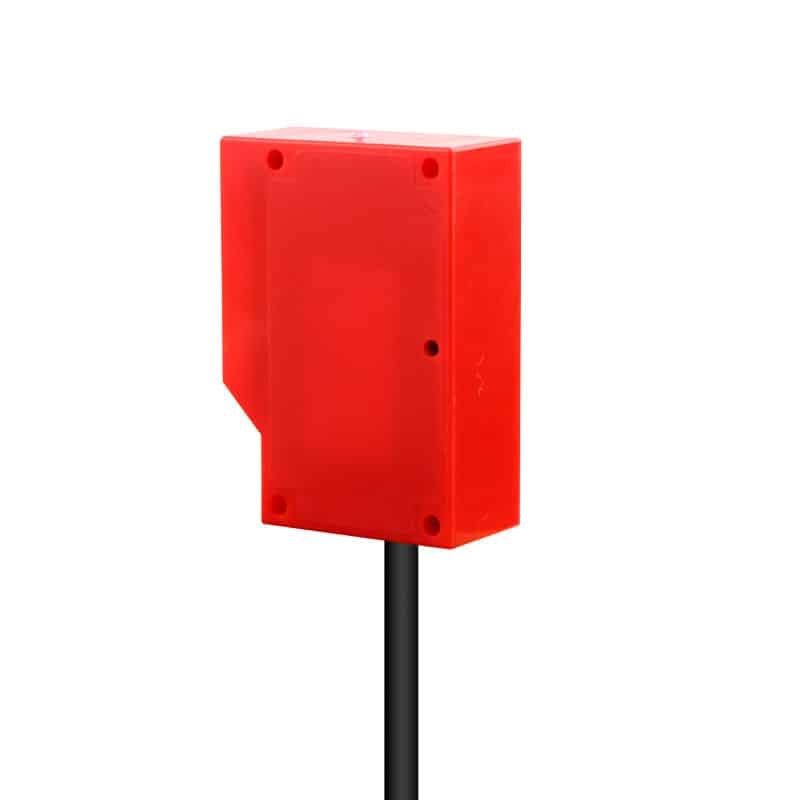
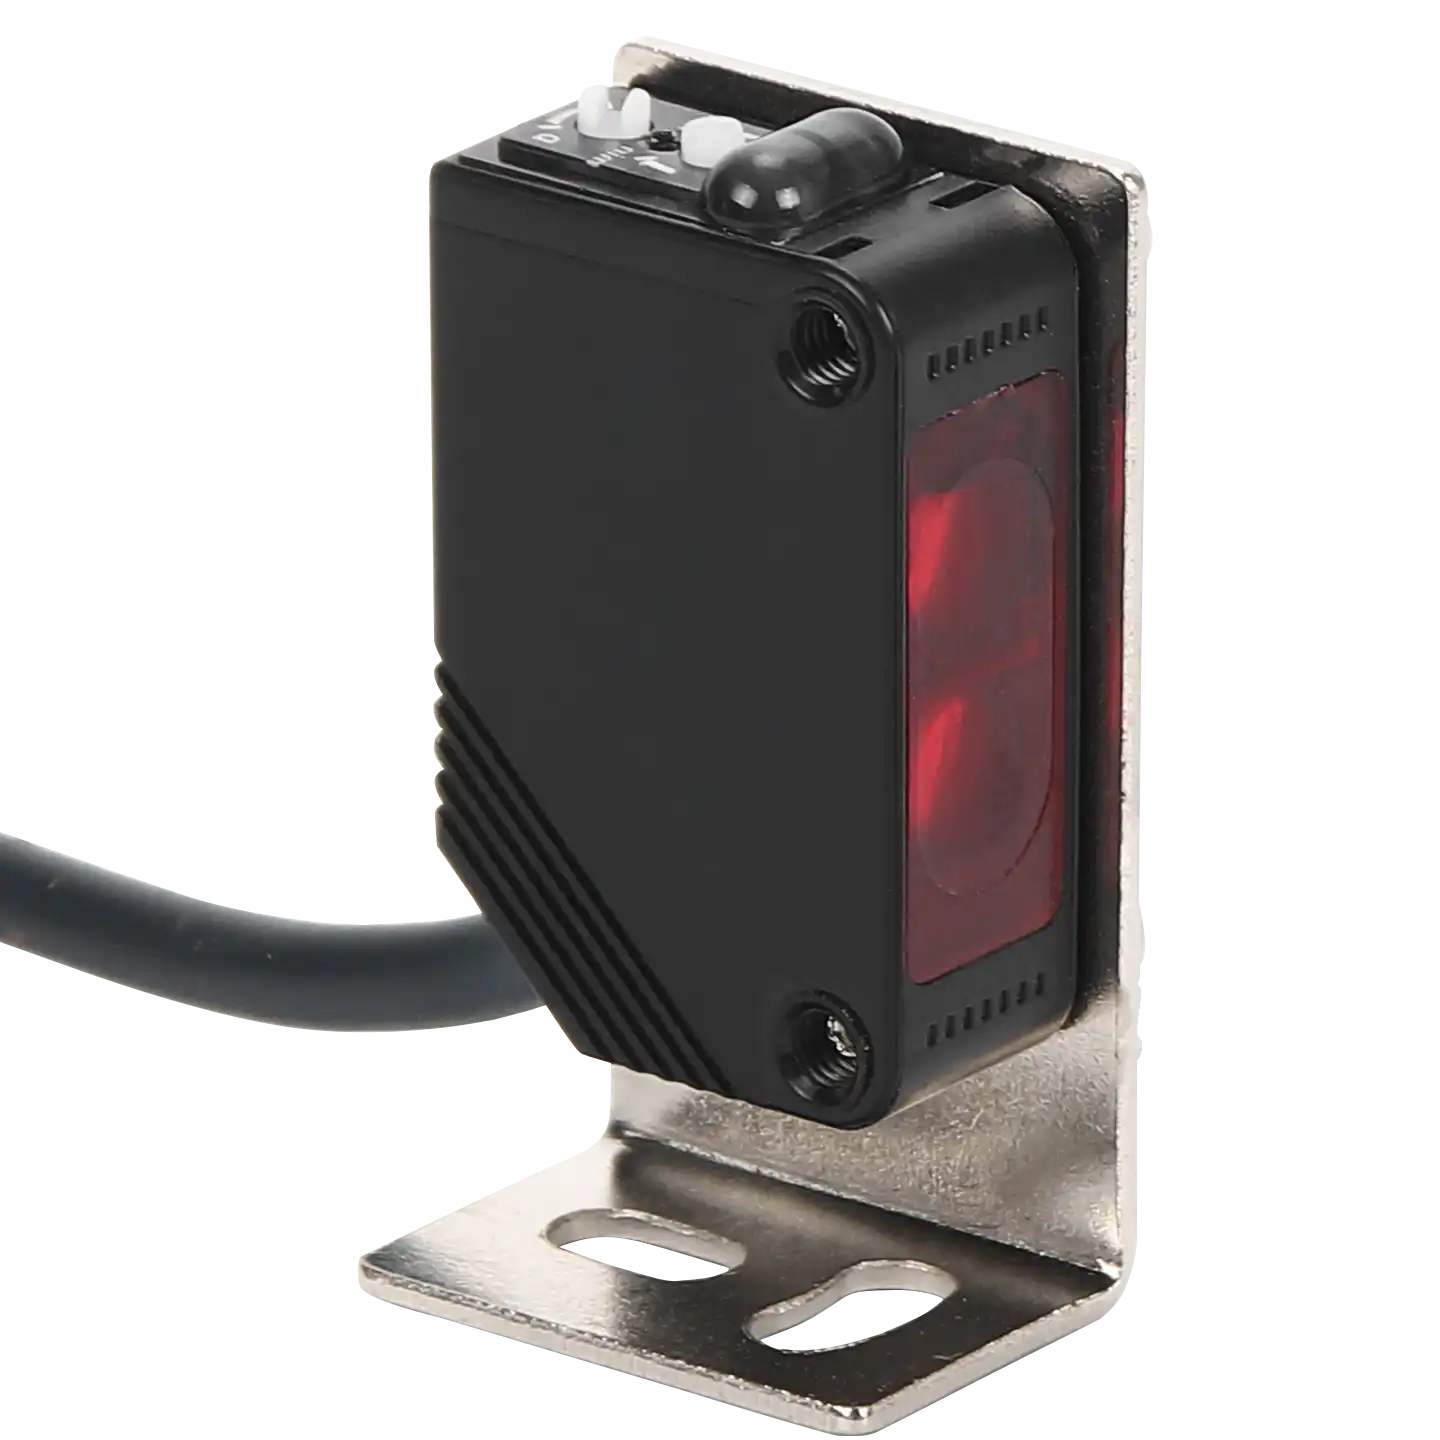
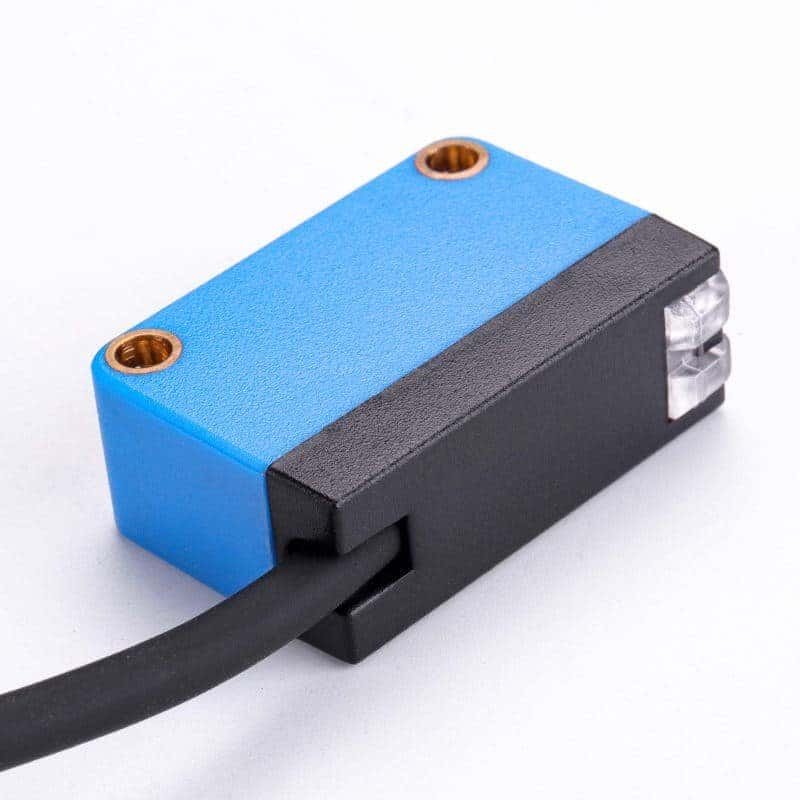
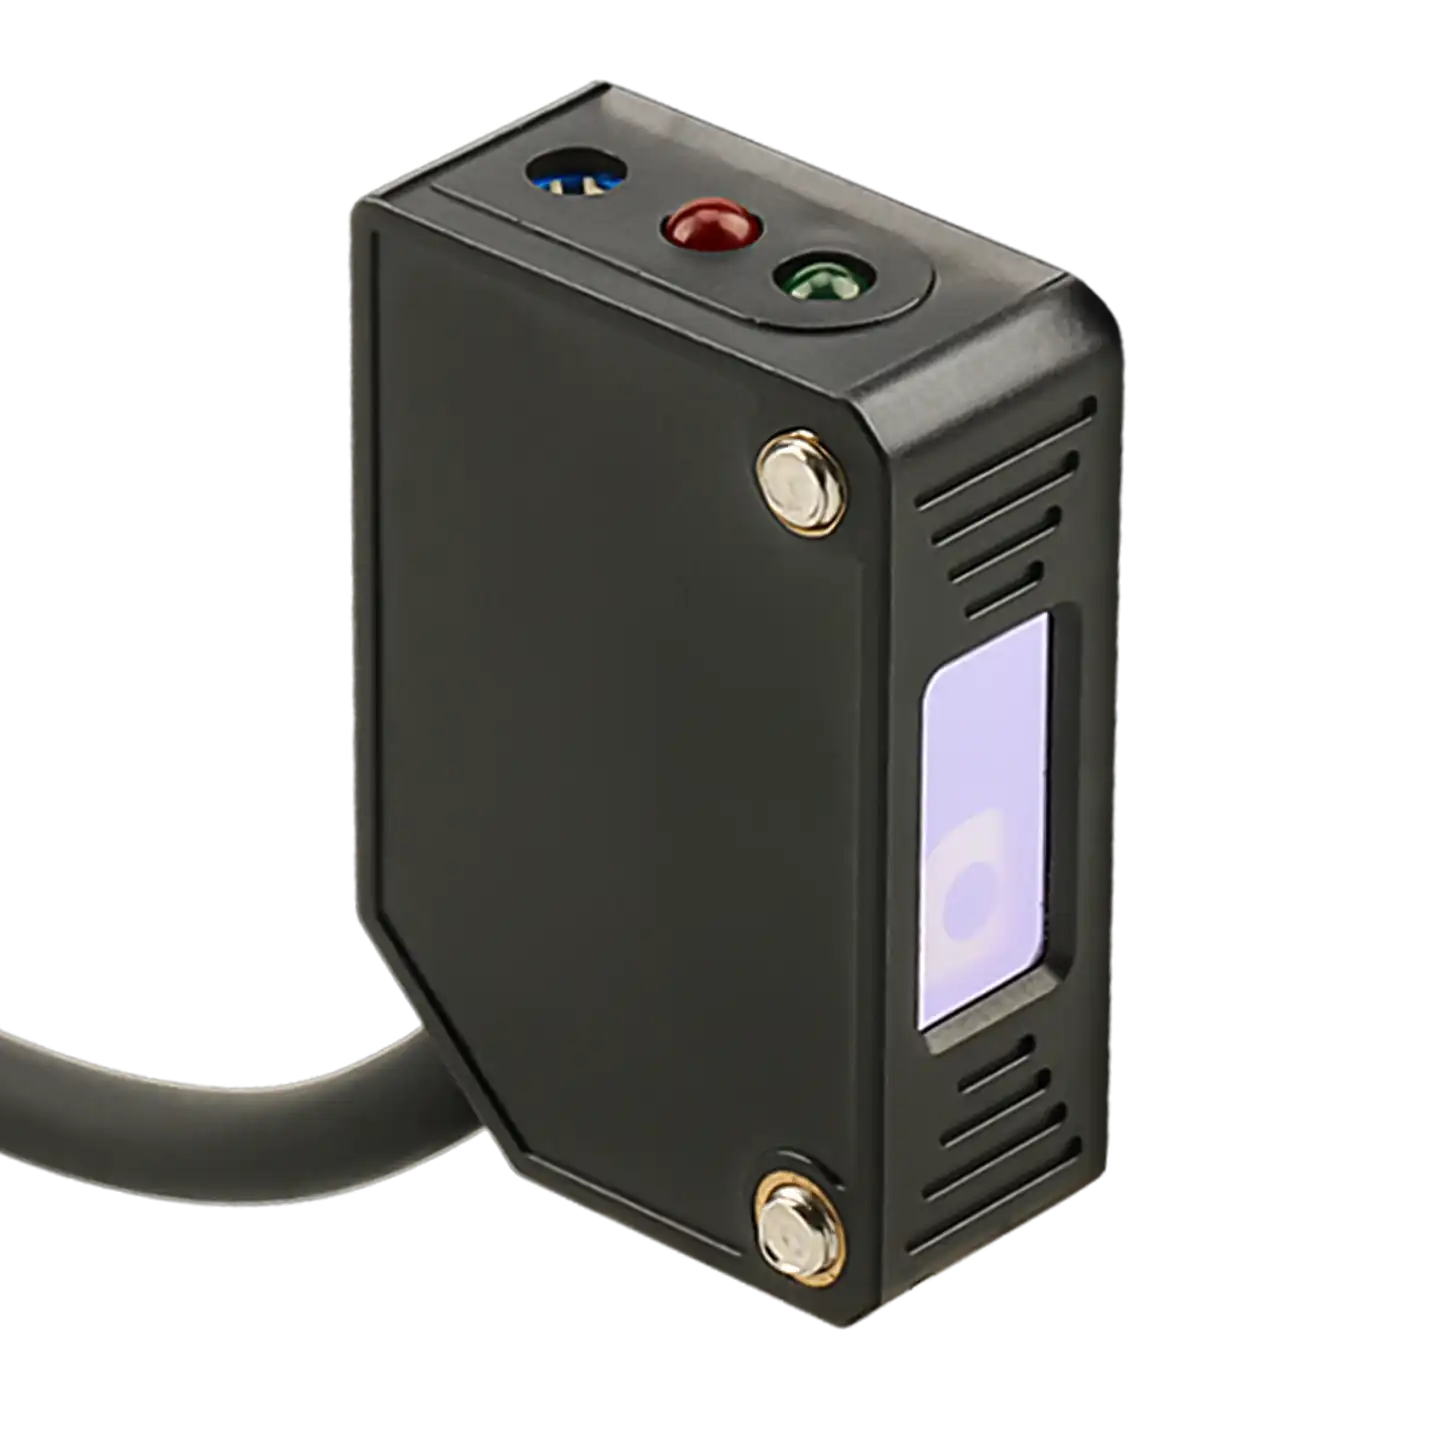

Share the target, working distance, mounting space and electrical requirements.
Find the right sensor for your application
Choose the sensing principle, working gap and mounting layout
around the object and the space available on your machine.
Compare diffuse, through-beam and retro-reflective detection. Consider background suppression when the target is close to a belt or machine surface.
Test the smallest object across the working gap. Include dark, glossy or clear surfaces; housing shape alone does not determine detection capability.
Check the body footprint, mounting holes and beam direction. Leave access to indicators, adjustments and the cable or connector.
Match the model's supply and output to the controller. Check Light-ON or Dark-ON operation, response time and capture of closely spaced objects.
Compare selection options at a glance
Sensing modes and housing sizes can overlap. Confirm the exact configuration, range and output for each model.
| Configuration | Main Focus | Optical Layout | Key Check | Setup | Typical Use |
|---|---|---|---|---|---|
Diffuse- Reflective |
Reflected light |
Emitter and receiver in one housing |
Surface and gap |
Single sensor, no reflector |
Carton presence, fixture checks |
Through- Beam |
Beam break |
Separate emitter and receiver |
Target opacity |
Opposing units, aligned axes |
Passing objects, part counting |
Retro- Reflective |
Return path |
Sensor and matched reflector |
Gloss and clear targets |
Reflector on opposite side |
Conveyor presence, packaging lines |
Background Suppression |
Distance cutoff |
Distance-based reflective detection |
Target to backdrop |
Set cutoff, test both states |
Objects above belts, nearby backgrounds |
Compact Housing |
Space fit |
Sensing principle depends on model |
Body and access |
Check bracket and cable space |
Small fixtures, tight machine spaces |
Validate detection with real targets
Test every target finish at the nearest and farthest positions. Include the smallest object and any changes in its angle.
Check the belt, rails and fixtures with the target removed. For beam-break modes, verify a clear path and reliable interruption.
Run the shortest target at maximum line speed. Verify detection and release at the controller, including the smallest gap between objects.
Recheck alignment after securing the bracket. Validate operation under expected vibration, ambient light, dust and temperature conditions.
Fit the housing around your optical path
Mounting position does not define the sensing principle. Arrange the receiver or reflector as required by the model.
Keep the optical face clear and the adjustments accessible.
Available options depend on the selected model.
Sinking output, when specified.
Match the controller input, supply and load.
Sourcing output, when specified.
Confirm supply voltage and wire assignment.
Check the model's timing diagram. Target-present logic differs between reflective and beam-break modes.
Confirm pinout and connection type. Leave room for cable bends, connector access and strain relief.
Rectangular photoelectric sensors fit sensing tasks on conveyors, packaging machines and assembly stations. Choose a model by optical mode, window orientation and mounting dimensions, then check the target and available installation space.

Check cartons at transfer or stop points, using an optical arrangement suited to the conveyor layout.

Confirm an opaque pack or tray has reached the station before the next packaging operation.

Check a workpiece in its fixture, with the optical window facing the actual detection surface.

An aligned through-beam pair detects separated opaque parts passing between the emitter and receiver.
The rectangular housing defines the mounting format, not the sensing principle. Review the optical path, target surface and machine conditions before selecting a model.

For diffuse sensing, compare the darkest target with an empty line. Glossy surfaces and nearby backgrounds can change the light return.

Check hole spacing, lens direction and connector access. Leave room to adjust the bracket and route the cable without strain.

Through-beam and retro-reflective setups need a clear, aligned optical path. Check that guides and moving hardware do not block it.

Keep optics clean and test with nearby lighting on. Confirm both target and gap signals at the machine's operating speed.
Application review, production support and quality checks for your industrial sensing project.
A rectangular housing needs the right fixing points, optical-window direction and cable clearance. Start with the machine drawing and target sample, then review the optical arrangement and access for installation.
Bring XSZ your target sample, bracket layout and controller requirements. Discuss optical mode, hole spacing, housing envelope and connection before confirming a configuration for repeat orders.
Check the actual target in the installed position. Confirm the output with the target present, absent and moving through the sensing point.
Review target samples, sensing position, optical path, mounting layout and controller input.
Confirm fixing points, optical-window direction, connection and the agreed checks for the selected model.
Discuss repeat orders and project-specific requirements, then confirm the supported configuration before production.
Production support for your selected configuration.
Match optical mode, target and mounting.
Agree the functional checks for your order.
Evaluate on the actual machine before rollout.
A closer look at our workstations, components and supply preparation.

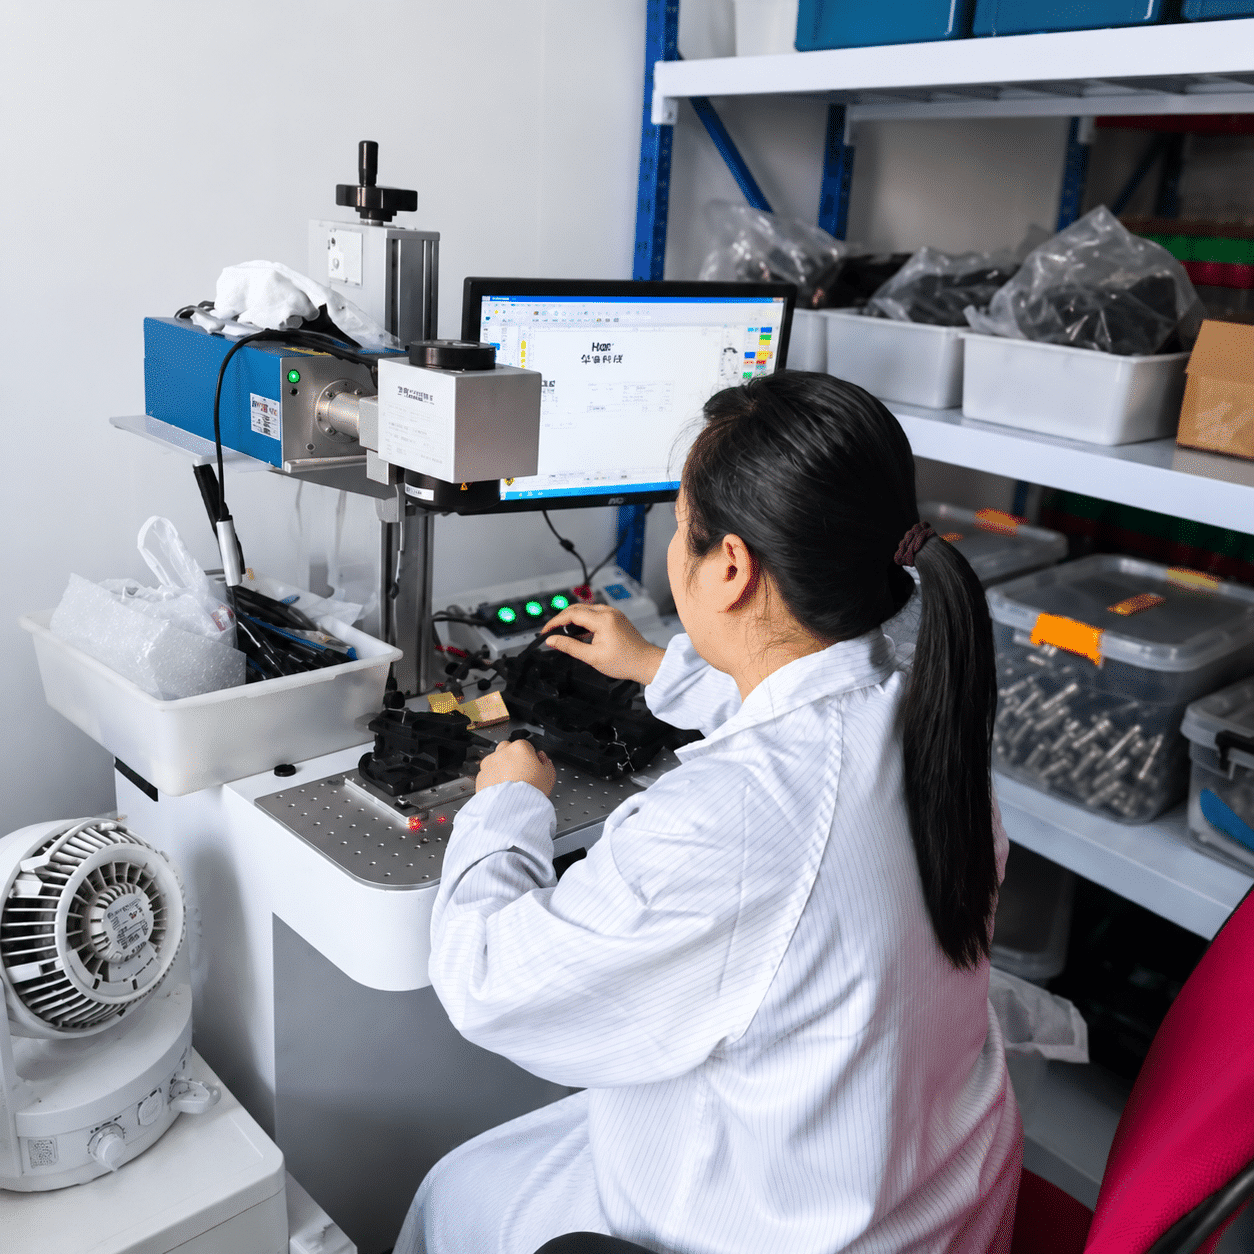

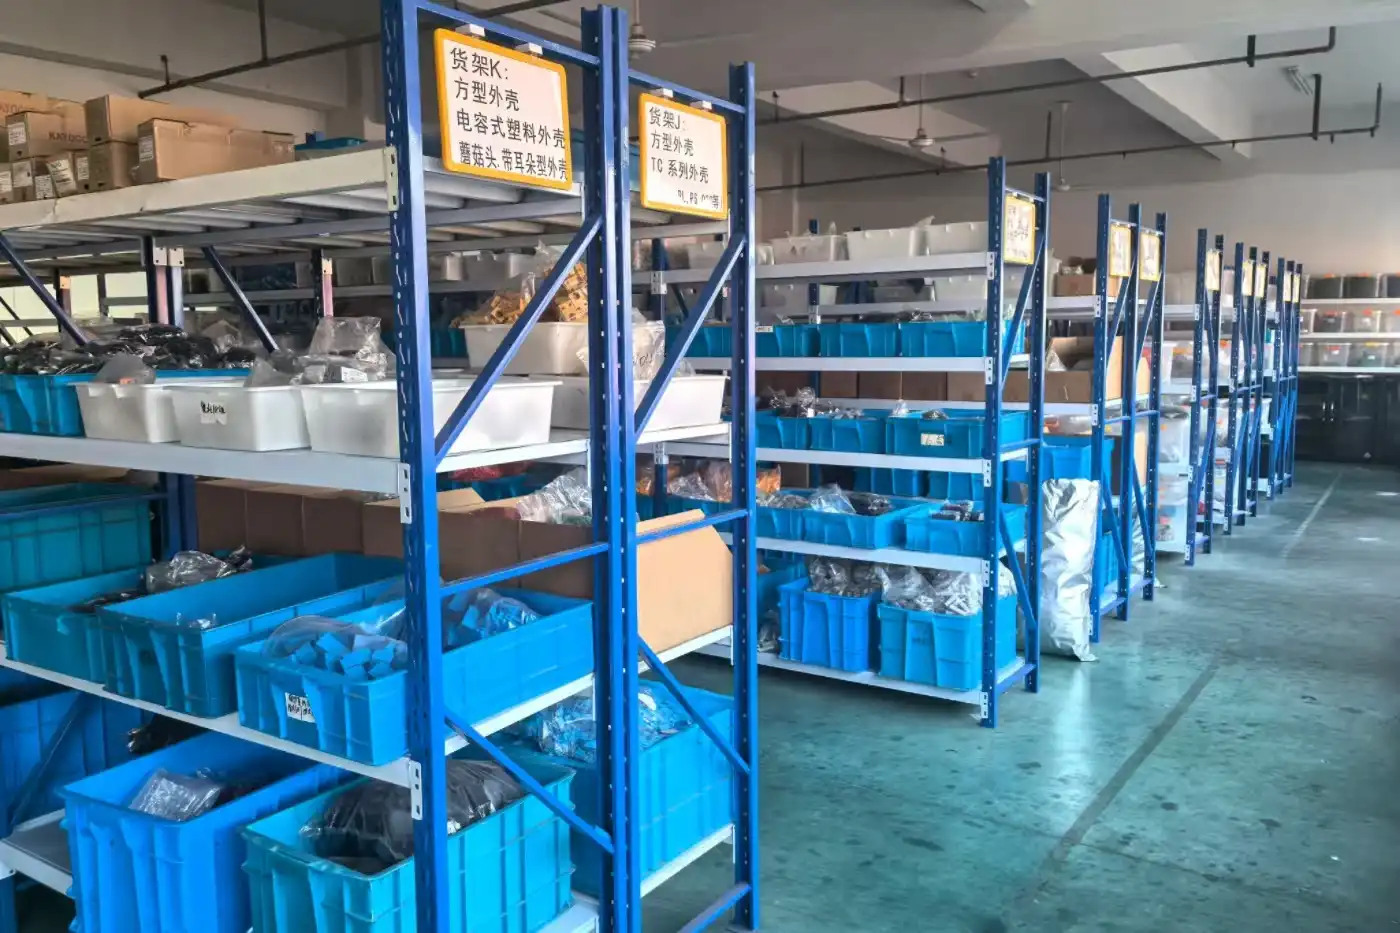

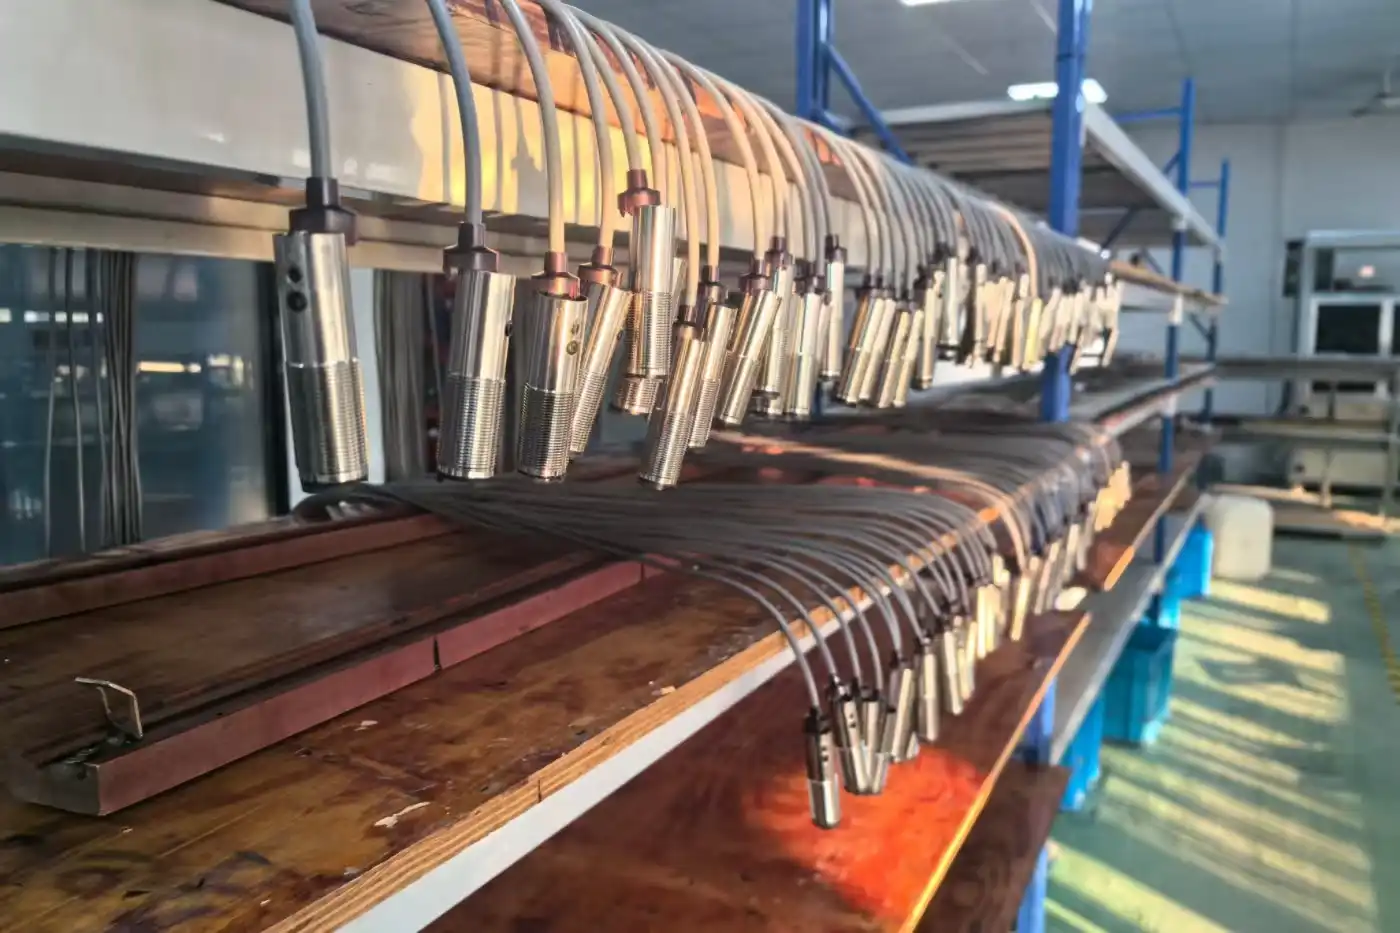


Flexible Solutions for Your Application
Share your target, sensing position and installation space. Our engineering team can review feasible configuration and branding options for your rectangular photoelectric sensor application.
Housing & Mounting
Review body dimensions, mounting-hole positions and bracket clearance for your machine.
Sensing Mode
Review the optical mode, beam direction and working distance for your target and background.
Cable Length
Discuss cable length and routing for your machine layout.
Connection Type
Review available cable or connector options against your wiring requirements.
Output & Timing
Match the available output, switching logic and response time to your controller and cycle.
Label / Branding
Discuss custom labels, logos and part numbers for your OEM project.
Explore More
Practical reading for rectangular sensor selection, mounting and reliable optical detection.
Selection Guide
How to Choose a Rectangular Photoelectric Sensor
Review body dimensions, optical mode, target conditions and controller requirements.
Read ArticleSensor Comparison
Diffuse vs. Retro-Reflective vs. Through-Beam Sensors
Compare the optical layouts and installation needs before choosing a sensing mode.
Read ArticleApplication Guide
Mounting and Aligning Rectangular Photoelectric Sensors
Plan the bracket position, optical path and cable routing, then verify detection with real targets.
Read ArticleCommon Questions
Quick answers to help you select and install a rectangular photoelectric sensor.
No. Rectangular describes the body shape, not the optical principle. Confirm the selected model's sensing mode, working distance and mounting arrangement separately.
Diffuse sensing receives light reflected by the target. Retro-reflective sensing requires an opposing reflector. Through-beam sensing uses separate emitter and receiver units. Choose among the available models based on the target, background and access to both sides of the detection area.
That depends on the model and sensing mode. Check the minimum target, beam size and operating distance. In diffuse sensing, dark surfaces may return less light. Test the actual target, background and movement rather than relying on housing size.
Confirm body dimensions, fixing points and optical-axis direction from the model drawing. Leave clearance for wiring and adjustment. Secure the bracket without distorting the housing, follow the mounting instructions and verify switching through the complete target path.
Use the selected model's wiring diagram. Match the supply and available output to the PLC input, and confirm switching logic and timing. Do not infer the pinout, wire count or output type from the housing shape.
Check optical alignment, bracket movement, dirty lenses, changing target surfaces and background reflections. Also inspect wiring and nearby light sources. Test target-present and target-absent states under the actual machine conditions.
Let's Build a Smarter Tomorrow
Share your target, detection position, installation space and controller requirements. Our technical team can help you review the sensing mode and mounting setup.